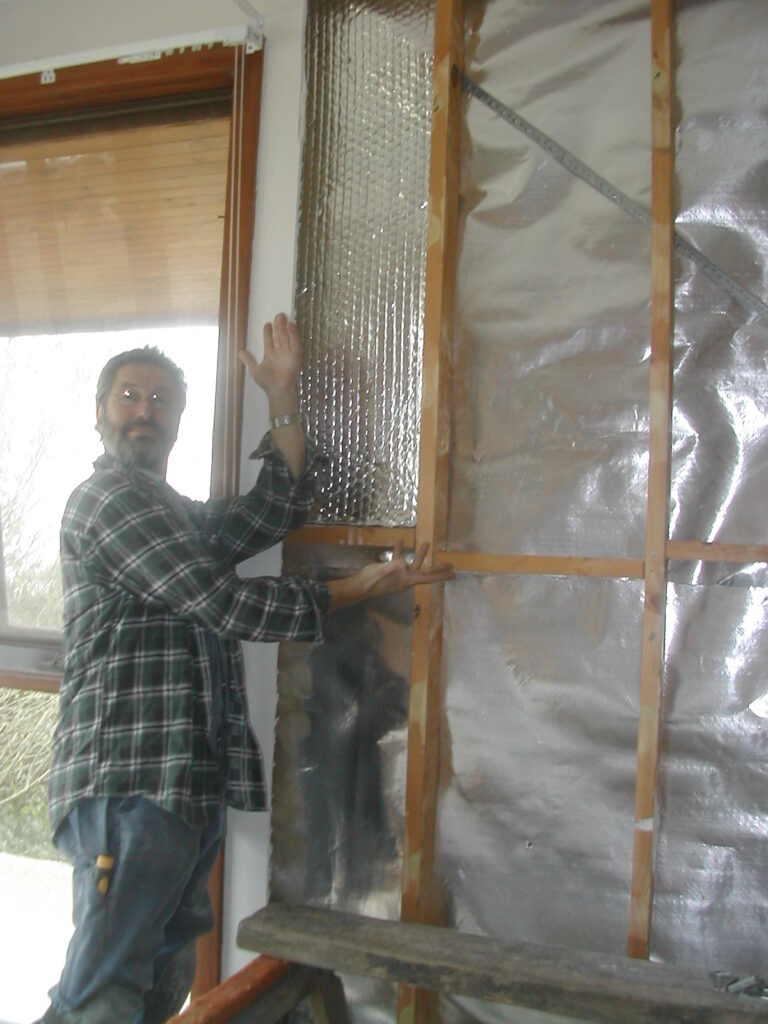
Here are the steps for retrofitting wall insulation batts in your existing home. Be mindful that homes of a certain age are likely to have hazardous materials in their make up that could be released when modifying or removing them. Assessing your home for the presence of asbestos or similar compounds is the very first thing you should do before starting a DIY refurbishment/retrofit insulation project.
The majority of these steps are alike to the above steps when pertaining to the installation of batts, the problem that a retrofit job poses is how to get it in there. But first things first:
Step 1: Measure your walls
Measuring up a wall for insulation that still has its lining on can be tricky. For the best tips and tricks to do so please check out our blog on How to measure up for wall insulation.
Step 2: Prepare your walls
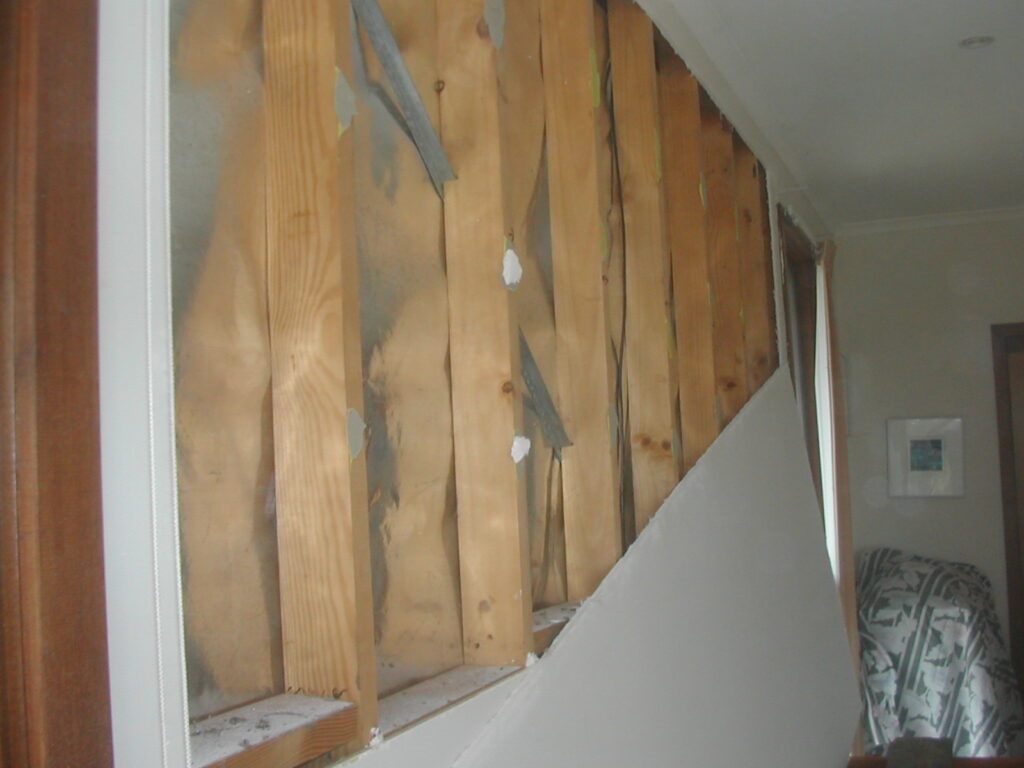
Before installing your wall insulation batts, make sure to properly prepare your walls by removing the internal wall lining, this is best done by removing the wall lining entirely. Before doing so however, you need to call in an electrician and a plumber to remove and make safe all outlets of electricity and plumbing.
The benefit of removing the wall lining entirely is it is safer and exposes all of the possible gaps and cracks that need to be insulated. To avoid additional cosmetic work to your ceilings and floor leave a 100mm section of plaster in place at the top, bottom, around windows, doors and into any corners. Be sure to remove all old fixings like nails, screws or leftover glue that held the old lining in place.
Step 3: Repair and revitalise
Wall repairs
Now your wall linings are off it gives the opportunity to properly assess your walls for any existing cracks or gaps in them. Also, check for any structural damage that needs to be addressed before insulating. This will ensure that your walls are ready for your insulation and won’t cause any issues with the finished job.
Sarking/Barrier Repairs
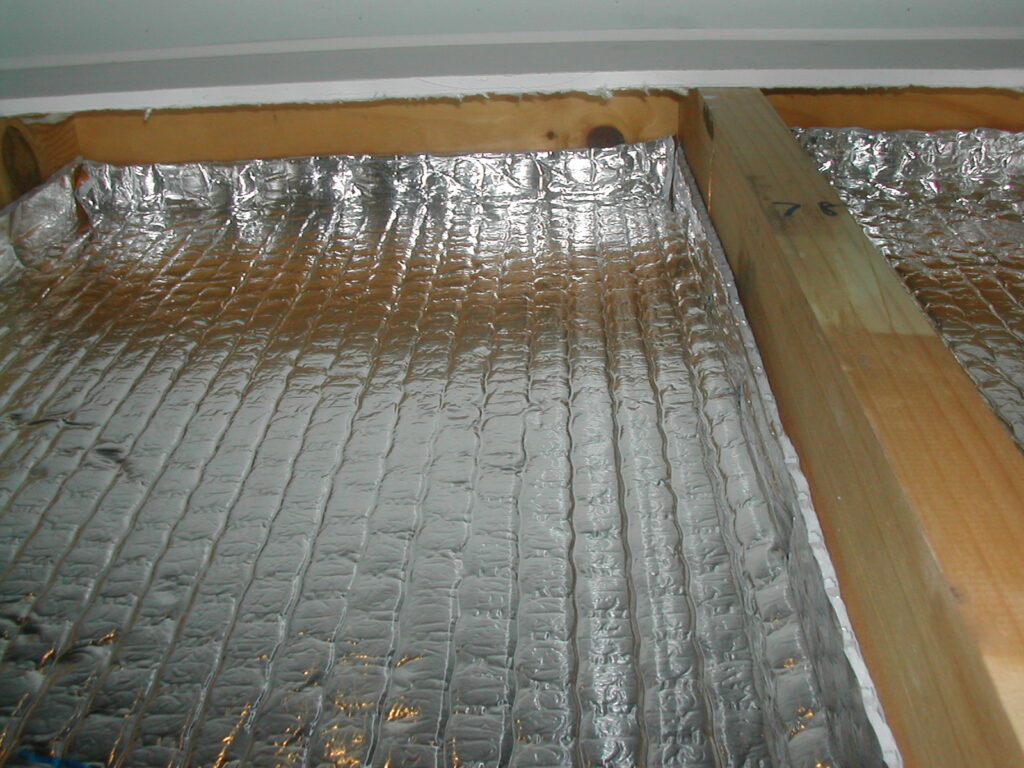
If you are opting for a still air gap insulation method this is the process. Install or repair the sarking/vapour barrier to create a still air gap. Patching over holes with tape or a section of sarking held in place with tape.
If your walls have no sarking in situ, then you can install a new lining by cutting appropriately sized pieces of sarking, fitting them from the inside, in line with the external face of the substructure. Fix in place by stapling the full perimeter into the timber studs, noggins, top and bottom plates of your wall. For more information on how to do this check out this blog on How to assess, retrofit and repair sarking wall wrap in new and existing walls. If you have a brick veneer home, you can use the sarking to ensure that your insulation stays in place.
Step 4: Install your wall Insulation
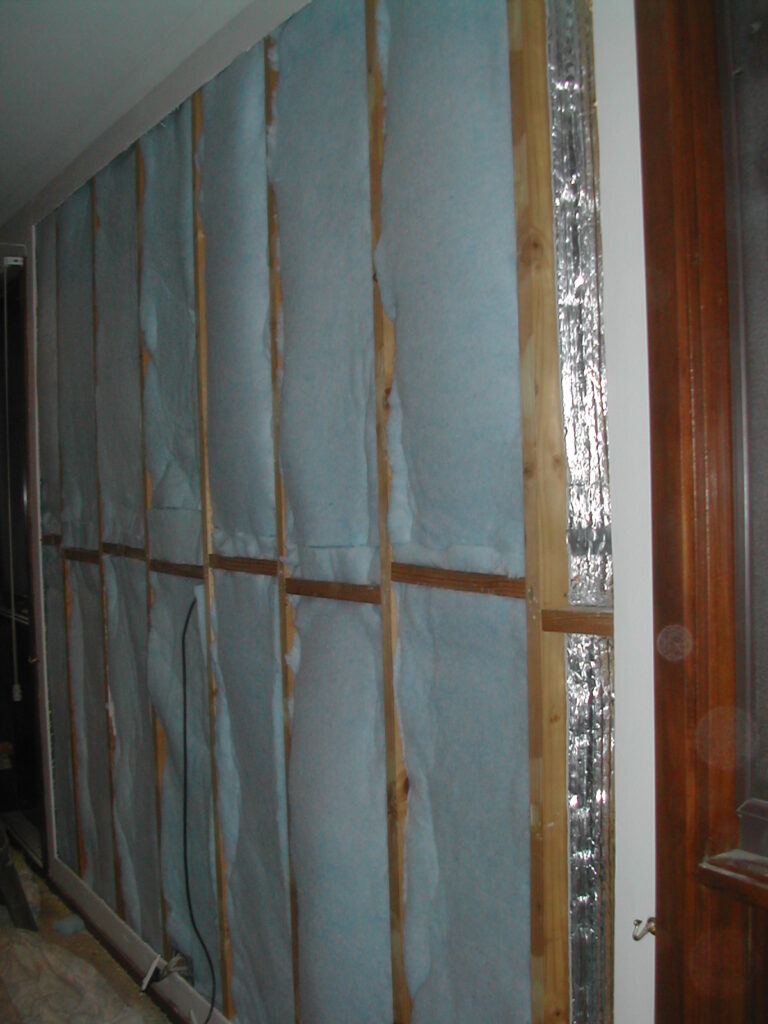
Starting from one corner, install the insulation batts working systematically from one side to the other. As necessary, use an angle grinder with a metal cutting disk or a utility knife to cut out pieces of the batt for each wall section. Install the batt from the inside, fitting hard against the sarking, ensuring each piece is snuggly in place between the timber. Try not to compress or overfill each cavity as this can reduce its efficiency and won’t provide adequate thermal resistance.
Whilst the above is specific to wall insulation batts, the same process (or a similar process) can be followed when using other insulation types. In short, ensure the insulation you fit is snug to the timber structure of the wall, be sure that the insulation fits inside the wall cavity and won’t hinder your wall lining and ensure there is a vapour barrier or sarking between you insulation and the external lining of your walls (i.e. bricks, weatherboards) to create a still air gap between.
Step 5: Reline Your wall
Finally, after rechecking the wall for gaps in your insulation, it’s time to re-line your wall with boards or plaster. Before you can fix the lining in place you must mark out and cut holes for your penetrations such as pipes for water and waste, and cables for electrical / AV outlets.
Step 6: Pay less to be Comfortable
Installing wall insulation batts can be tricky but following these steps will help ensure a successful installation process and will keep your home warmer in the winter and cooler in the summer!
The only other alternative to retrofit insulation into walls without having to remove the wall lining at all is to use a specifically designed pump to blow in loose fill cellulose insulation from the outside and the top.

Need Help with Wall Insulation? Let the Experts Handle It
Wall insulation can be one of the trickiest areas to tackle for DIY enthusiasts. If you’re unsure or prefer to leave it to the pros, we’ve got you covered. Register your details below, and we’ll connect you with a trusted specialist wall insulation company in your area to ensure your home stays comfortable, energy-efficient, and well-insulated. Let the experts make it easy!
Click Here for Wall Insulation Done For You!
People Also Ask:
⇒ Can wall insulation be used in ceilings?
Using wall insulation in your ceiling is a great idea if you have a flat pitched roof with minimal space inside. Wall insulation is also a great solution for insulating between the first and second floor of your home. This is because Wall insulation has the same thermal properties of ceiling insulation in a thinner insulation Batt.
⇒ What R-value do I need for walls?
We recommend installing the highest rated insulation in your wall. R2.5 is the highest rated polyester wall insulation batt available and offers great insulation properties over a very long timespan.
⇒ Why aren’t interior walls insulated?
In Australia, more often than not, insulation was not installed in exterior or interior walls when homes were built. This is why there is typically no insulation in internal walls. Installing Polyester wall insulation in the internal wall cavity has two effects; making your home easier and more efficient to heat and cool (which means lower utility bills), and making your home more soundproof against the noise from the street outside or from noisy neighbours.
What’s Next?
We hope this article has helped you learn how to use simple ways to save on your utility bill. This in turn will help you on your energy and thermal efficiency retrofit journey to make your home more comfortable all year round, and reduce your costs and carbon emissions.
Next, explore How To Assess, Retrofit And Repair Sarking Wall Wrap In New And Existing Walls.
If you found this article helpful, then please subscribe to our YouTube Channel. You’ll find many more helpful “How To” videos there. You can also follow us on Facebook and Instagram to stay in the loop.
For more great information on how to make your home more energy and thermally efficient subscribe NOW to ecoBites. ecoBites are free bite size chunks of the latest energy efficiency information making it quick and easy for you to absorb.

Your existing house
can be energy efficient too

Insulate your walls for a more thermally efficient, cosy, happy home.


Recent Comments