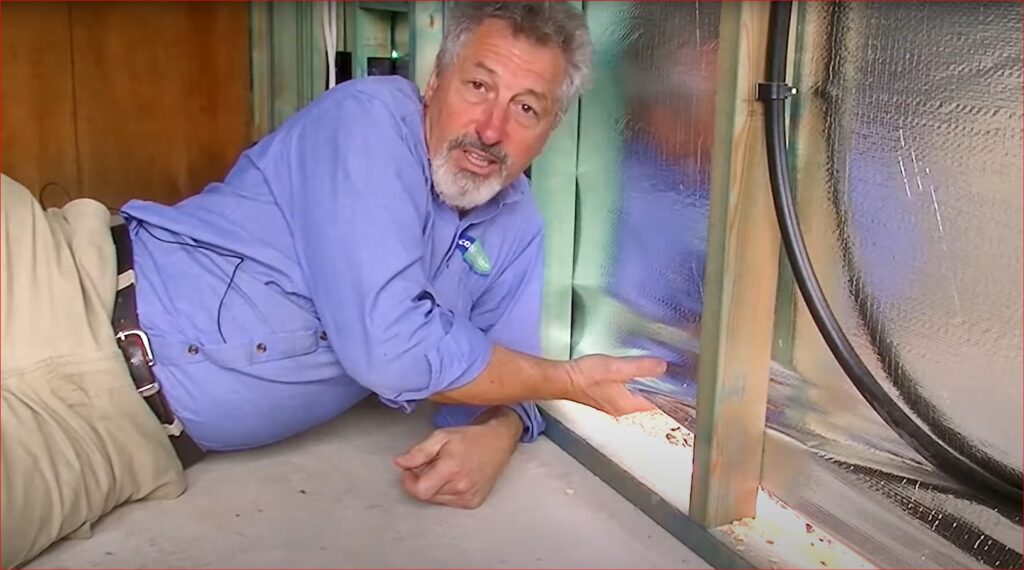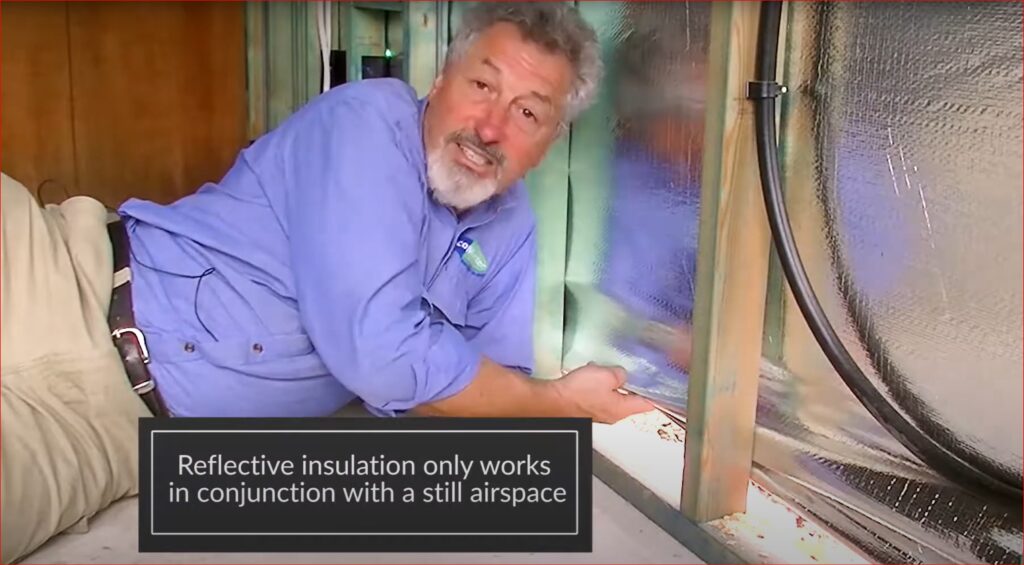
Sarking commonly referred to as vapour barrier or wall wrap, is an important component in the makeup of the external wall of a house. This is because it provides an extra layer of insulation and protection from the elements. It also helps to prevent water penetration into the wall, as well as allowing moisture out of the wall, thereby reducing the risk of mould, mildew and rot.
Additionally, when installed correctly, sarking will also be able to reduce heat loss through walls by creating a still air space in the wall. This still air space works by reducing air movement between the inside and outside surfaces of the walls.
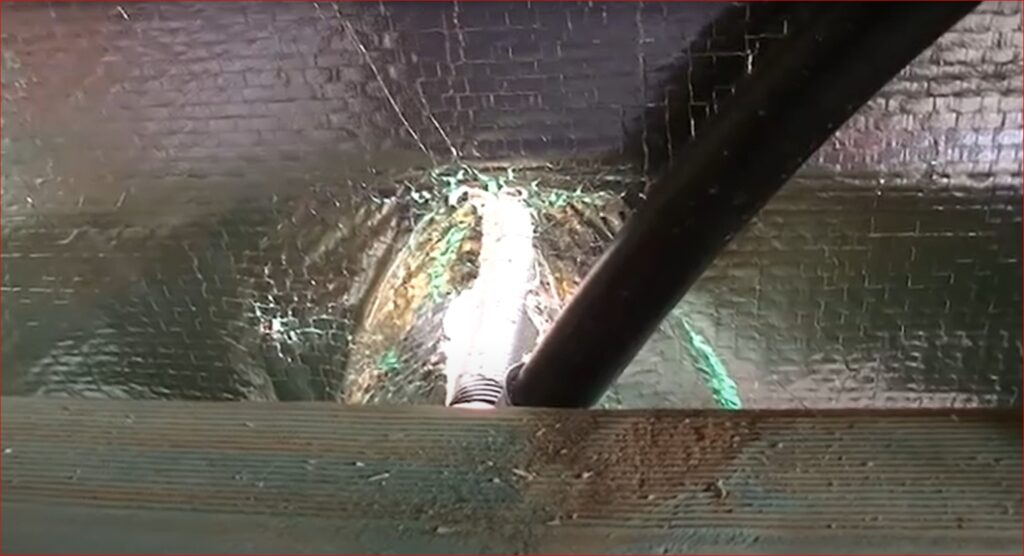
You may be shocked to know that many of the builders that install sarking in new homes do not completely understand its purpose. This is evident by seeing how poorly this crucial vapour barrier has been installed in many homes. Sometimes you will find that the wrap is very loose or in many cases the sarking will not be fixed down at all points and has gaping holes where pipes come through. These gaps and holes completely eliminate the purpose of the sarking wrap and the still air gap it should provide.
How do I know if my sarking is installed correctly?
Finding areas where the wall wrap is not installed properly on a new build can be quite easy. In the daytime, you will be able to identify areas much more easily from the inside by looking for the light coming through from the outside. If light can get through well that means that unwanted air currents will be able to get inside your wall and – by extension – affect your home comfort. These are gaps most commonly found at the extremity, that is at the bottom and the top of the walls.
Finding the faults in the sarking of an existing home is a much trickier task, unfortunately. Realistically the only way to assess your wall wrap thoroughly is to completely remove the internal wall lining (most commonly plaster or Lining boards) and any insulation that has been installed in your wall cavity.
Once all the obstructions are out of the way, you will be able to carefully inspect the wall wrap to find the areas of fault. The light will not be as strong an ally because the external wall lining will block out a lot of the light from coming in. This is why, in addition to looking for light coming through in problem areas, you should thoroughly and systematically inspect the wall wrap for faults by starting in one corner and inspecting one section completely before moving onto the next.

My wall wrap has been installed poorly in my home that is under construction; How can I fix it?
Now that you have identified the problem areas in your home’s sarking wall wrap, now it is time to repair it. Just as finding the flaws is easier in a home that is under construction, so too is the repair process – you are in luck!
For areas where the sarking is not fixed down at all (commonly at the bottom and top of a wall), you can simply take the vapour barrier, pull it taut and use a staple gun to fix through the wrap into the timber top or bottom plate.
Where there are holes present around pipes coming in, or holes found in your wrap in general, you are best suited to thoroughly tape over those areas. You want to use tape that has a sizable width (50-60mm wide) to give ample surface area to cover over the holes. If your holes are wider than your tape, don’t worry, you will be able to use multiple segments of tape side by side and overlay them by 15-20mm to make sure they stay together and seal up the hole. If your sarking is a reflective type, which is quite common on external walls in humid climates, it is best to use an aluminium flashing tape that has similar reflective properties.
For holes around pipes, you will need to use multiple segments of tape butting up all around the pipe to ensure no air gap is left.

I found gaps and holes in my sarking behind my plaster walls, What’s next?
Gaps to the bottom and top of an existing wall are harder to tackle because you have no access from the outside to staple it from there. The answer is to cut a new segment of sarking to fit from the inside.
To do this you need to measure the size of the cavity in the given area between the timber studwork. Then you can cut a segment of sarking, ensuring to add 100mm to your measured sizes, which will provide you with 50mm of extra sarking to the full perimeter of your new segment.
Now, staring from one side, press your segment of sarking into the wall cavity until it is in line with the back of the timber studwork. The extra 50mm of your segment should be folded inward, laying flat on the side face of the timber stud to allow you to secure the sarking in place with a staple. Now follow these same steps again on the other side ensuring you pull the segment of sarking as taught as possible when you staple it in place, continuing on to secure the top and the bottom in place also.
Repeat this whole process for each segment where the original sarking is not fixed down or in areas where a wall wrap was never installed.
For patching holes, the process is exactly the same as for a new build. To ensure all holes in your wrap are sealed, use a tape that is 50-60mm wide and lay it over the area. If the hole is wider than your tape, arrange multiple segments of tape side by side, overlapping them by 15-20mm to keep them together. For reflective surfaces, such as those found on external walls in humid climates, it is best to use an aluminium flashing tape with similar reflective properties. Finally, for holes around pipes coming in, be sure to use multiple segments of tape that butt up all around the pipe to seal any potential air gaps.

All Wrapped up
Whether it be in a new build or an existing home, using the above steps will ensure that you have a thoroughly insulated wall offering the protection you need from the extremes of Australian weather.
People Also Ask:
⇒ Is Wall Insulation Compulsory
Wall insulation is Compulsery in external walls of newly built homes in Australia. The required Value of insulation in external walls is R2.5 in most climate zones. There is no ruling the demands wall insulation to be installed into already established older homes but it is strongly recomended that it gets installed. This is because installing insulation in your wall will significantly reduce your energy consumption and cost’s.
⇒ What is the best insulation for walls?
There are many Insulation types; One of the best external wall insulation products is Wall Insulation Batts manufactured with polyester. Polyester Insulation is non allergenic and not Itchy to work with, so no need for personal protective equipment. Polyester Wall Insulation batts are heat bonded, which means no glues that bind them together to attract rodents.
What’s Next?
We hope this article has helped you learn how to use simple ways to save on your utility bill. This in turn will help you on your energy and thermal efficiency retrofit journey to make your home more comfortable all year round, and reduce your costs and carbon emissions.
Next, explore more in detail How To Retrofit Wall Insulation In An Existing Home.
If you found this article helpful, then please subscribe to our YouTube Channel. You’ll find many more helpful “How To” videos there. You can also follow us on Facebook and Instagram to stay in the loop.
For more great information on how to make your home more energy and thermally efficient subscribe NOW to ecoBites. ecoBites are free bite size chunks of the latest energy efficiency information making it quick and easy for you to absorb.

Make sure the sarking wall wrap
is well fitted in your home
You’ll be able to feel the difference!


Recent Comments